| Build Thread, Page :
[ 1 ] 2 3 (48 posts, 20 posts per page, 3 pages in total)
|
[ Next > ] |
| hjlittman, Comment for image # 45023 | 06 Mar 26 21:41 |
| None yet. I couldn't make the contest because of an injury. I did trimming flights in the back yard with 100 turns. It needed a little down and left thrust. It came out heavier than I wanted at 25.4 grams with a loop of 1/8" rubber in it. I decided to put 150 turns in it to test the trim and it tried to fly out of the yard. If I build another one it will have a stronger leading edge. The damage is from "stable flight into objects". Right now the winds in the area are gusting to 45 mph so I'll have to wait a few days to get some serious flights in. |
| bobgood, Comment for image # 45023 | 06 Mar 26 08:35 |
| Well done! Any flight pics? |
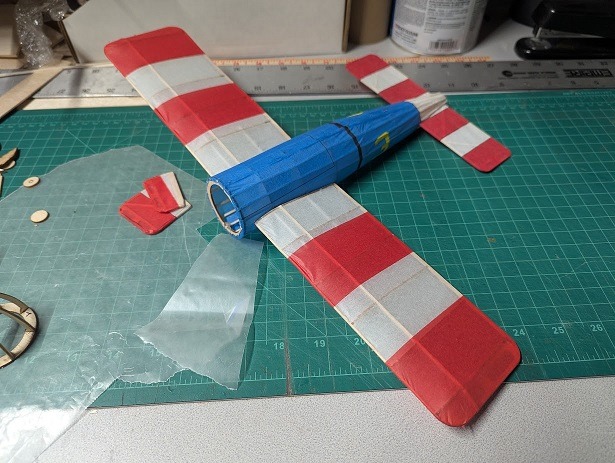
| hjlittman, Image # 45023 | 05 Mar 26 22:06 |
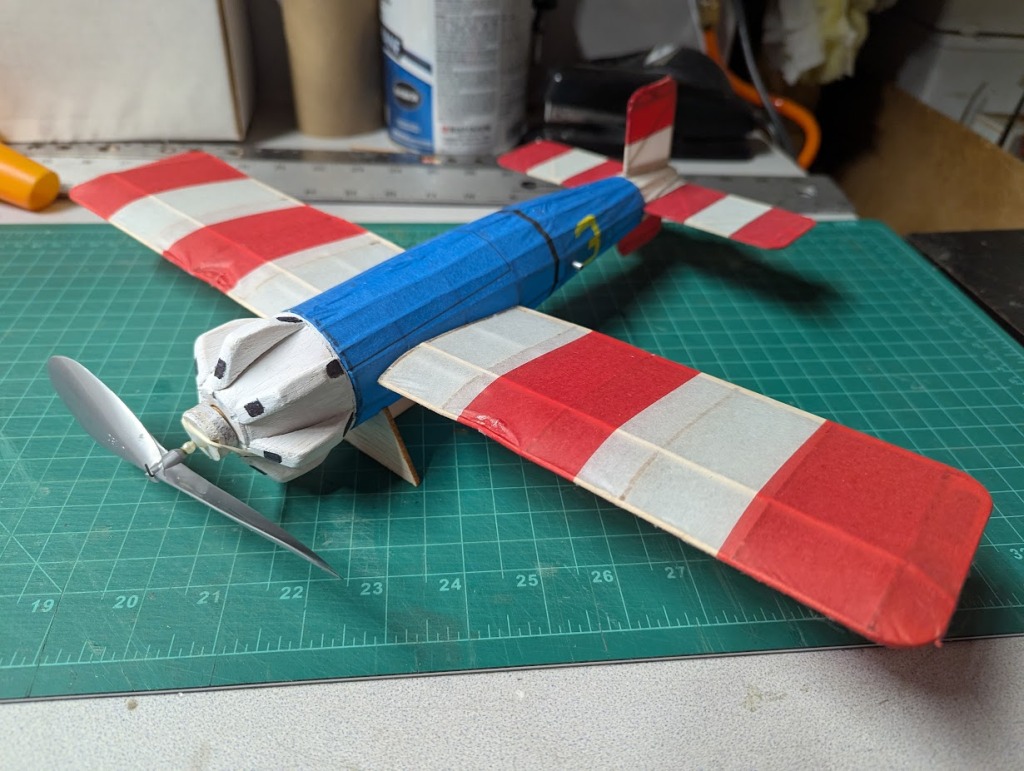
It has been flown. |
| hjlittman, Image # 45022 | 05 Mar 26 22:05 |
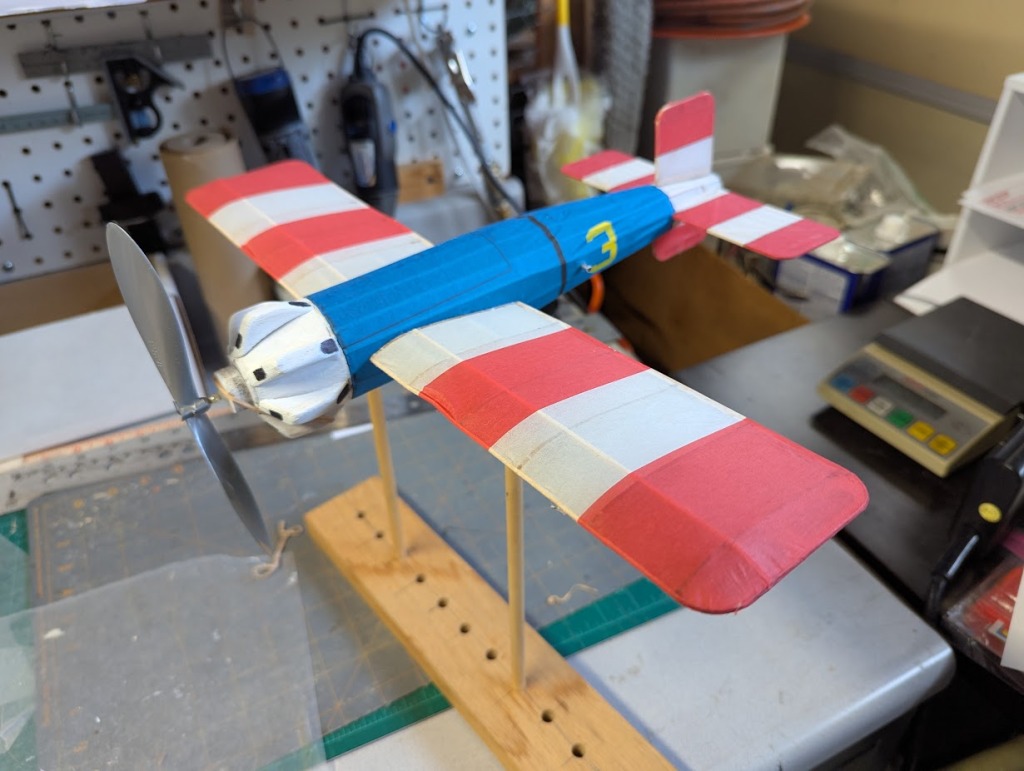
On the balance rig, no ballast! |
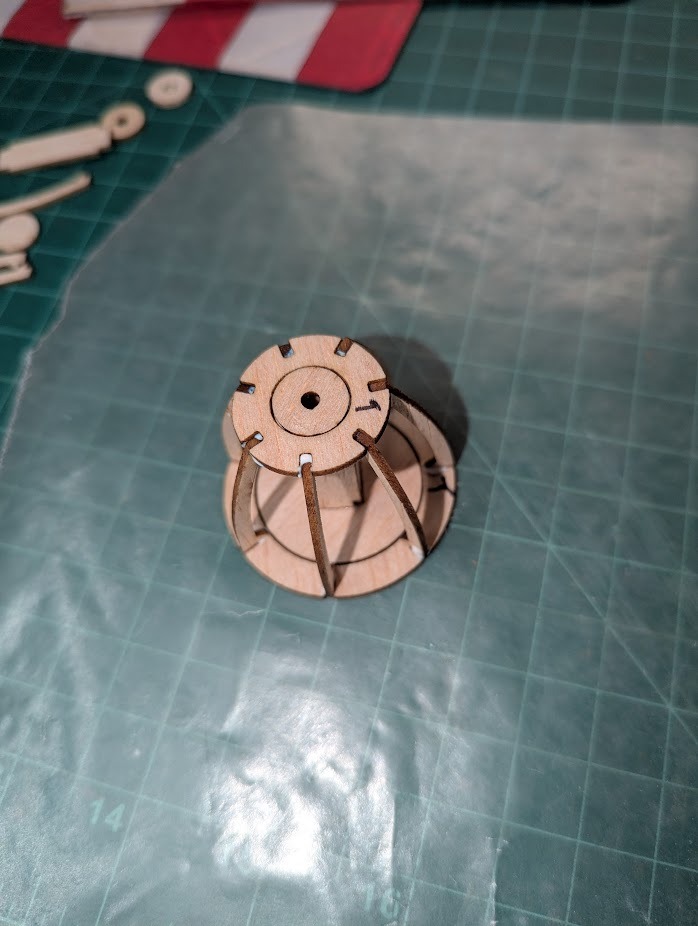
| hjlittman, Image # 45021 | 05 Mar 26 22:04 |
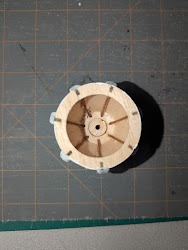
Inside of planked up cowl. |
| hjlittman, Image # 45011 | 22 Feb 26 21:10 |
Almost there. |
| hjlittman, Image # 45004 | 15 Feb 26 23:35 |
Im estimating 19 grams all up less rubber when finished. |
| hjlittman, Image # 44999 | 14 Feb 26 00:37 |
The cowl frame was assembled with Scotch Tacky Glue to give working time and when dry simply lifted off the fixture. |
| hjlittman, Image # 44998 | 14 Feb 26 00:35 |
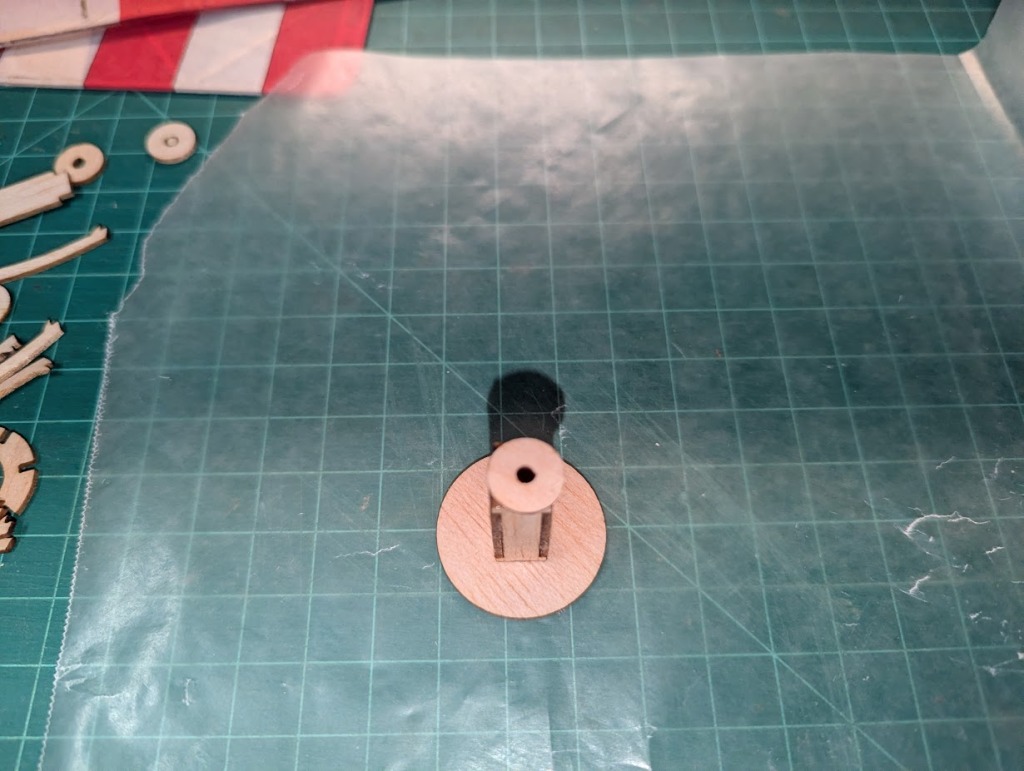
The built up cowl frame is assembled over a small fixture to keep it straight. |
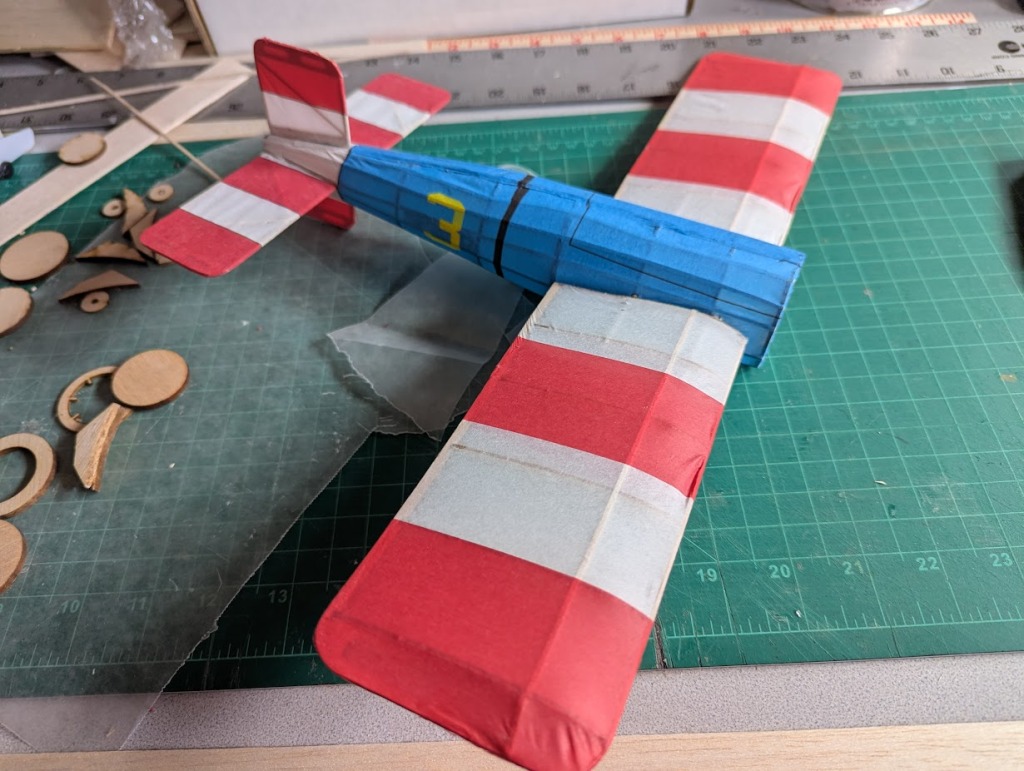
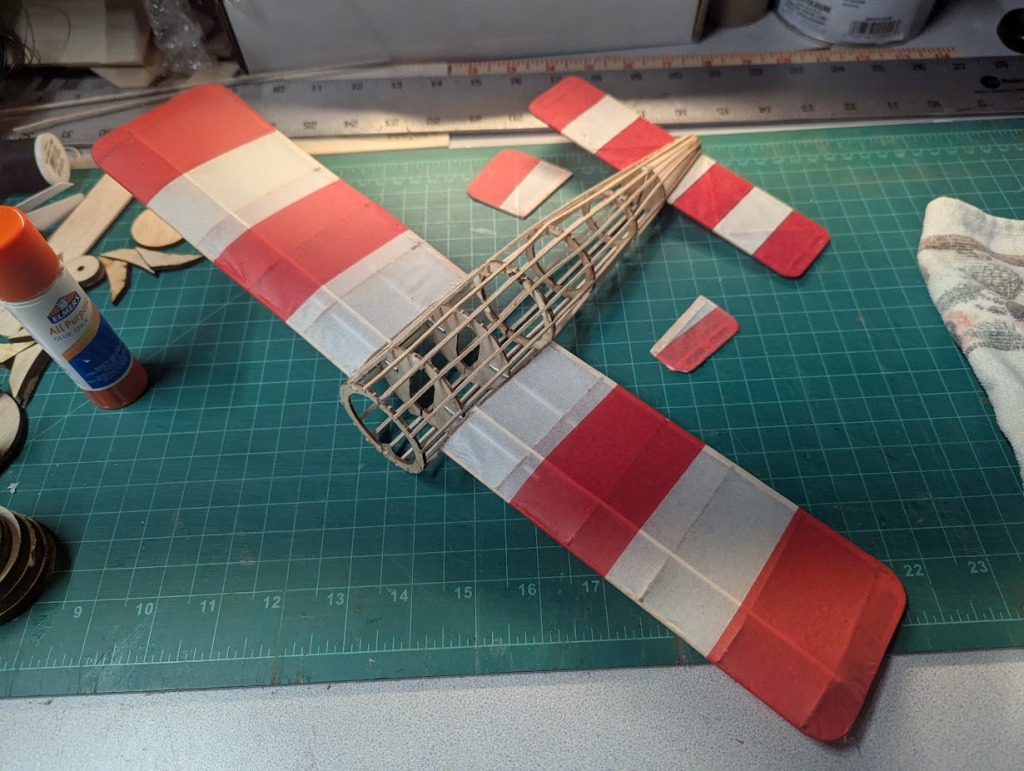
| hjlittman, Image # 44997 | 14 Feb 26 00:32 |
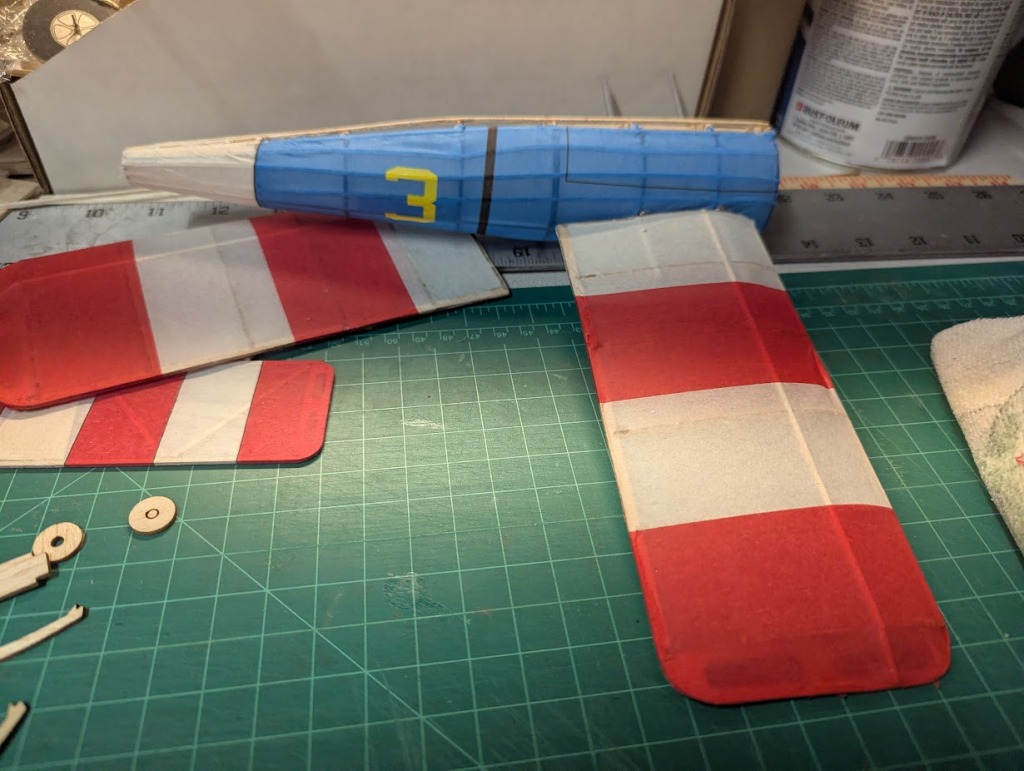
With the fuselage half covered you have a better idea of the colors. |
| bobgood, Comment for image # 44996 | 11 Feb 26 08:50 |
| Looking very good Howard - you just have to pick yourself up and get on with the remedy after those mishaps Howard. the model looks great as is! Excellent! |
| hjlittman, Comment for image # 44996 | 11 Feb 26 00:22 |
| So, I had the new ring stack for the cowl cone chucked up in my Dremel drill press and using a sanding block was turning it up very nicely. Then, the screw in the mandrel sheared off and the cowl shot off across the garage. It ricochet off of several things and, although I searched for an hour, I haven't found it yet. I'm going to go with plan B, the built up cowl.
The wings and tail surfaces are covered and I predict that it will be flyable by the weekend...weather permitting.
|
| hjlittman, Image # 44996 | 11 Feb 26 00:17 |
Progress is being made |
| hjlittman, Comment for image # 44995 | 11 Feb 26 00:15 |
| I am planning to upgrade my YouTube channel with demos on the techniques for building my kits. |
| bobgood, Comment for image # 44995 | 10 Feb 26 12:09 |
| Wow! Very amazing Hi-Tech stuff Howard. Do you do training courses on-line?
|
| hjlittman, Comment for image # 44995 | 10 Feb 26 00:58 |
| I also printed skins for it. The drawing you see on the wing skins is under the tissue on the old plan segments that I used for carrier sheets. The one piece skins for each side of the fuselage will be applied 'wet'.
More to come...
|
| hjlittman, Image # 44995 | 10 Feb 26 00:54 |
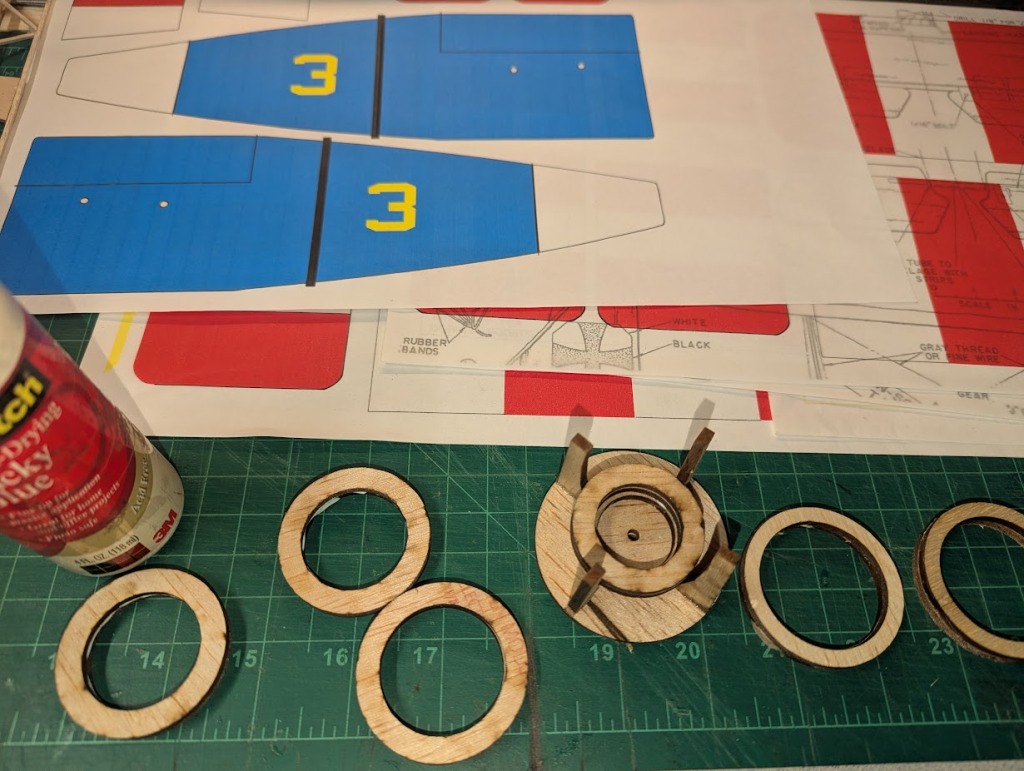
I had to build a little fixture to hold the cowl cone rings in alignment while I stacked them up. |
| bobgood, Comment for image # 44987 | 01 Feb 26 08:52 |
| Wow Howard - SNAP!
|
| hjlittman, Comment for image # 44987 | 31 Jan 26 17:33 |
| Excuse me!...I was born in 1943! |
| bobgood, Comment for image # 44987 | 31 Jan 26 11:33 |
| Thanks Howard - we live on the edge of the Mojave in JT. That laser printing would make my builds much better and a little easier too I think. But, being a 1943 boy, I'm beyond that technology! :-( |
| Build Thread, Page :
[ 1 ] 2 3 (48 posts, 20 posts per page, 3 pages in total)
|
[ Next > ] |
